How can you prevent seedlings from spinning (and recover them)?
February-March is often a good time to start your first seedlings. Unfortunately, not everything always goes according to plan, especially when you're starting your permaculture vegetable garden. Some seedlings start to wither or even break off, a condition known as "wilting seedlings". So how do you get top seedlings that will bring you pretty vegetables in a few weeks' time? Follow the guide!
This advice may seem like common sense... and yet! When you start your vegetable garden, you're often tempted to start sowing a little too early to "save time". Well, that's a big mistake! Some vegetables, like courgettes for example, grow very quickly. If your region allows you to plant them in the ground from mid-May to avoid frost, there's no point starting them before April or even mid-April. For tomatoes, starting in mid-March is the bare minimum... unless you're lucky enough to have a greenhouse. To make sure you respect the sowing period, I invite you to set up your vegetable garden on Permapotes. Once you've indicated which vegetables you want to eat this year (yumm!!), you'll be able to get a month-by-month overview of all the sowing and planting to be done... all tailored to your climate zone from the moment you set up your region. You can even print out an annual calendar or upload your own personalised calendar to Outlook so you don't miss a thing. Isn't that nice? =) Lack of light and excess heat are the two main reasons why seedlings wither. You need the right ratio between these two parameters! If you want to have aubergines or peppers in your vegetable garden, you very often need to get started very early. Plants of these two varieties grow very slowly, which means we often have to start their seedlings around February. If they are placed inside your home, which is highly recommended as these two varieties fear frost, the ambient temperature of around 19-20°C is far too high compared to the natural light at this time of year, even if you place them in front of a window. Your seedlings will then shrivel up in search of the light to which they naturally turn because it is necessary for their growth. Of course, you might be tempted to counter this problem by placing artificial lighting above your seedlings, but favour natural light as much as possible ;-) Of course, seedling dieback doesn't just affect aubergines or peppers. Practically all seedlings started before April or insufficiently exposed to light can wilt... After April, you can generally take your seedlings outside when you can, keeping an eye on temperatures to avoid exposing frost-sensitive vegetables such as tomatoes, squash(tte)s or aubergines. You can, for example, bring them into your house overnight to minimise the risks... and take them out again the next day, but this requires patience. For non-frozen varieties, I personally take everything out as early as April in a cold greenhouse. After 4 years of vegetable gardening under my belt, I've finally managed to find the right technique for 100% success with my seedlings. For my part, I opted for a mini greenhouse placed upstairs in front of a south-facing window. Here's what my setup looks like. I'd also like to take this opportunity to talk about watering: be careful not to overwater your seedlings... and be careful that the potting soil isn't too dry. Once the seeds have been sown in your pots or seed trays, you can, for example, soak them in a container filled with water. The water will then rise by capillary action into the soil and once the soil is sufficiently moist, all you have to do is place your seed trays in your little balcony greenhouse. For watering, I personally rely on the weight of my seedling trays, and water accordingly, either with a spray bottle or small sprayer, or by placing a tray containing a little water on the bottom. The damage is already done, and you want to recover spinning seedlings? You're in luck, it's sometimes possible. For certain varieties such as tomatoes, for example, you can try to transplant seedlings that have spun by burying their stems deeper in the soil. These varieties have the ability to recreate new roots from the stem. Unfortunately, this technique doesn't work with all varieties, especially cucurbits (courgettes, pumpkins, melons, etc.) which simply risk rotting if their stems are buried too deeply. Nevertheless, you can always give it a go, especially with lettuces, provided the stem is not already too stretched. So how do you achieve this intermediate transplant? Well, it's not very complicated: In this case, you'll unfortunately have to throw them into the compost... and start all over again. If the season is already well advanced, you can always buy vegetable seedlings to transplant into your vegetable garden directly from garden centres, or even better: take part in exchange markets. Don't hesitate to look on Facebook for initiatives of this kind in your area. It's a great way to meet other gardeners, share tips, and swap seeds and plants between enthusiasts! I hope this article helps you to make your sowing more successful! If you have any other tips to recommend to Permapotes, don't hesitate to share them in the comments! =)Respect the sowing and planting periods

A good ratio of light to heat!

My solution for preventing my seedlings from wilting!

The advantage of a mini balcony greenhouse is its mesh bottom, which allows light to pass between the different levels. With a conventional rack, the bottom of each tier is full, which reduces the amount of light, a very important criterion for starting our seedlings when the days are still short. You're going to tell me that with all your seedlings, the shelves will soon be full. I'd say no, not just yet! Only a few seedlings can be sown when the days are still short. So it will take some time for everything to fill up. Another advantage of this type of mini-greenhouse is that it saves space, as you can store a large number of seed trays in a narrow space. I paid around forty euros for my mini-greenhouse on this site two years ago, but you can now find them just about everywhere, in garden centres and elsewhere.
If I can slip a few more tips into the corner of your ear: be careful not to create shadow play with your labels and make sure that the potting soil in your seedling trays or pots comes within 5 mm of the rim... again, to prevent your seedlings from stretching too far to stick out of the pot.
Well, to get maximum light of course! =) If you place your seedlings in front of a north-facing window, they're bound to bolt! To get as much light as possible, try to find a spot that faces as far south as possible, or even south-east or south-west. If this really isn't possible (east or west facing), then you'll need to keep the room fairly cool, around 12-15° maximum, but your seedlings will take longer to grow.
On the ground floor, the ambient temperature is generally 19-20°. Until mid-March, this temperature is too high in relation to natural light, which risks causing seedlings to wither. Upstairs, on the other hand, where the bedrooms are located, the heating only comes on if the temperature falls below 15°. This cooler temperature has the advantage of providing a better light-to-heat ratio for my seedlings, and minimises the risks.
How to recover spinning seedlings

Is it really too late, and your seedlings are beyond repair?
And what tips do you have?
Articles you may like
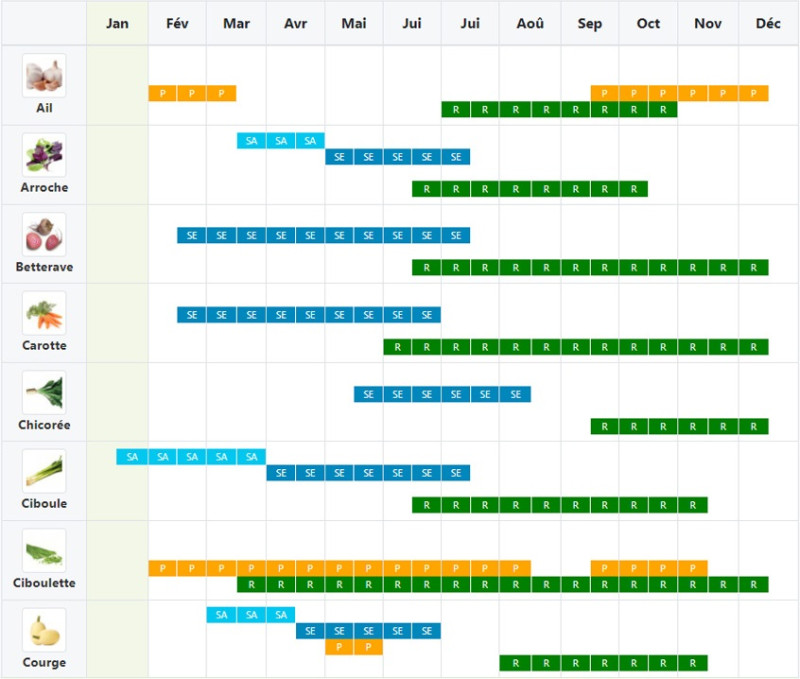
My annual calendar
View the main sowing, planting, and harvest periods for your favorite plants, then print or download these markers to prepare your season.