


Vegetable garden plan: measuring the plots and laying out the paths
The first step in drawing up a vegetable garden plan is to distinguish between the total area of the plot and the area you can actually use for growing. Paths, access points and fixed structures take up some of the space. By measuring these before planting your vegetables, you can draw up a plan with dimensions that are actually usable in the garden.
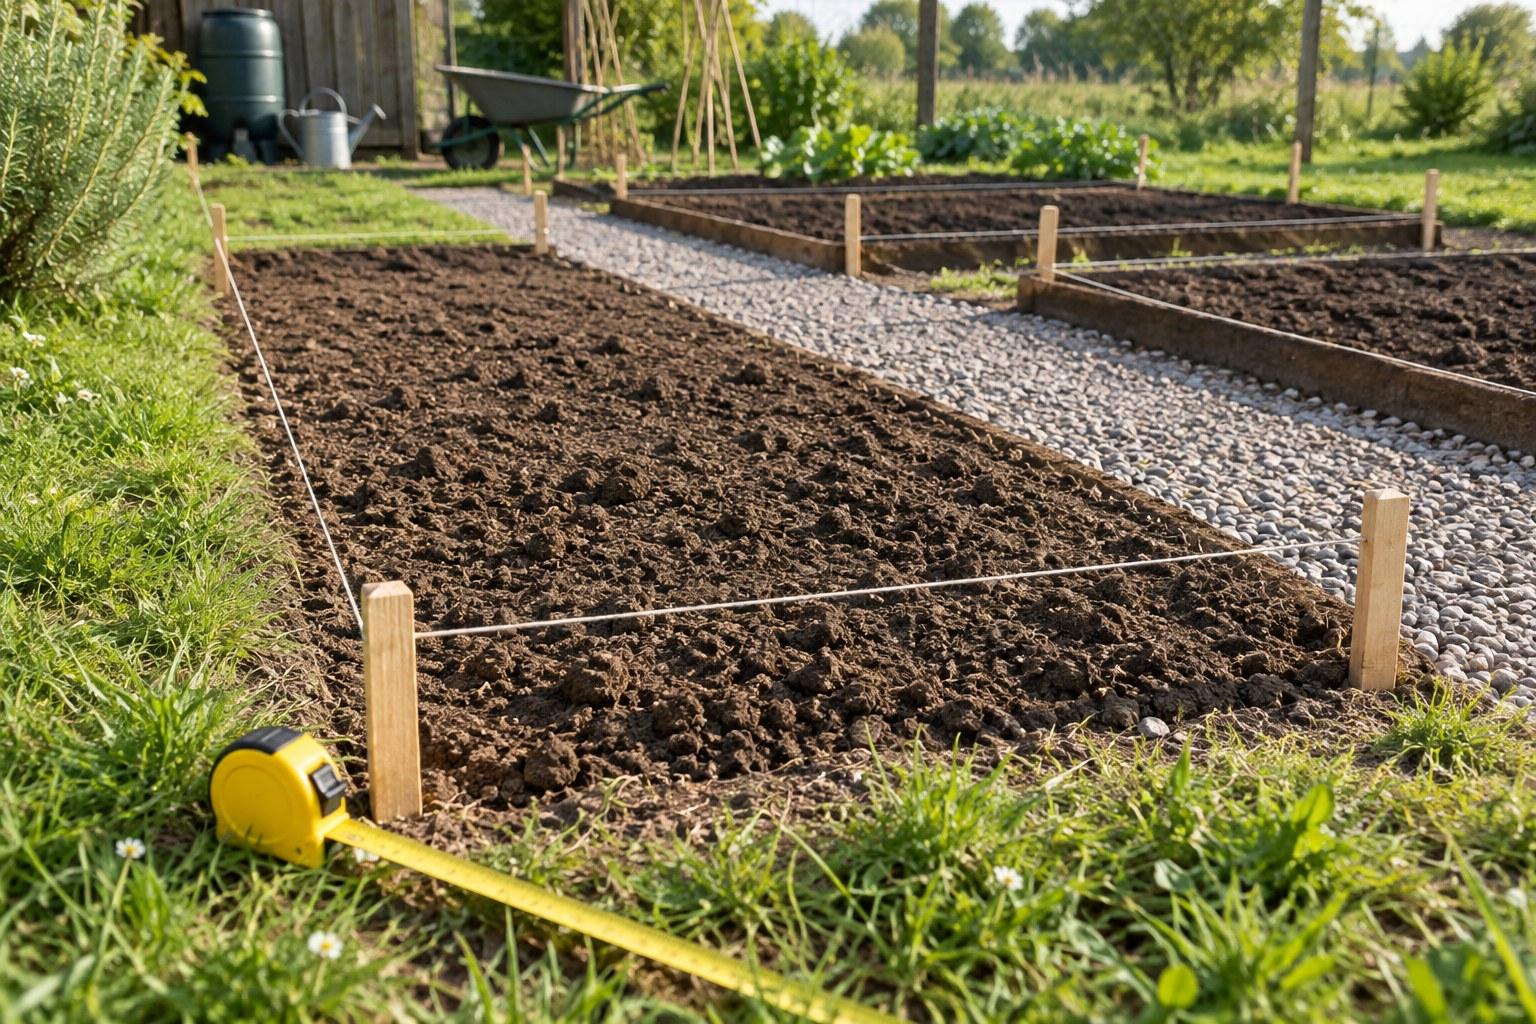
Draw up a simple but verifiable statement
Prepare a sketch, a tape measure and a list of the elements to be retained. Measure the lengths rather than simply estimating them by taking long strides. Note the unit used on the sketch. For an irregular boundary, break the area down into rectangles or simple shapes and indicate which parts are approximate.
Also note any obstacles: tree trunks, sheds, kerbs, fences, water sources or permanent pathways. Two gardens with the same total area can offer very different possibilities if their access points and obstacles are not in the same place.
Calculate the available area
For a rectangle, multiply the length by the width. An area measuring 4 metres by 3 metres is 12 m². This calculation refers to the plot of land itself, not yet the cultivated areas. These 12 m² must then be divided between the plots, access paths and any margins.
An example illustrates the difference. In this rectangle, two plots measuring 1 metre by 3 metres together cover 6 m². A central path measuring 0.6 metres by 3 metres covers 1.8 m². This leaves 4.2 m² for other access points and uncultivated areas. These measurements are simply to illustrate the calculation; they are not recommended dimensions for all gardens.
| Part of the example | Calculation | Area |
|---|---|---|
| Land | 4 × 3 | 12 m² |
| Two panels | 2 × 1 × 3 | 6 m² |
| Central aisle | 0.6 × 3 | 1.8 m² |
| Still to be allocated | 12 − 6 − 1.8 | 4.2 m² |
Choosing the width using a span test
The practical width depends on your ability to reach the centre and on how accessible the sides are. A plot situated against a fence cannot be worked in the same way as a bed that is accessible from both sides. Check on site that you can carry out the work without stepping onto the cultivated area.
Mark out an initial width using temporary markers. Try out your usual movements: reaching for a plant, placing a container down or handling a tool. If the centre is difficult to reach, reduce the width or change the layout. Testing it out on the ground helps to clarify what the sketch does not show clearly.
Design the paths to suit their intended use
List the planned movements: walking, carrying a watering can, using a wheelbarrow or being accompanied by another person. Also check accessibility requirements. A main path and a passageway between two planks are not necessarily used for the same purposes.
Bear in mind the space that foliage may take up. A path that is still clear at the time of planting may become narrower as the season progresses. Also take into account any supports and objects that will protrude into the path. The usable width is the space that remains once the plants have grown.
Name the plots and note down their dimensions
Give each plot a fixed reference: A, B, C or a name that’s easy to remember. Note down the length, width and area. This will allow you to work out the number of plants you need without having to re-measure the whole garden every time you change what you’re growing.
If a plot is irregularly shaped, describe its shape and the key dimensions rather than simply stating its area. Two areas of 3 m² do not necessarily allow for the same layout: a long, narrow strip is not as suitable for growing crops as a square.
Transfer the survey details to the vegetable garden plan
Use the Permapotes vegetable garden plan to represent the areas you have measured. First, place the access points and fixed features, then the plots. Check the proportions against your survey before filling in the spaces with crops.
The steps involved in Permapotes
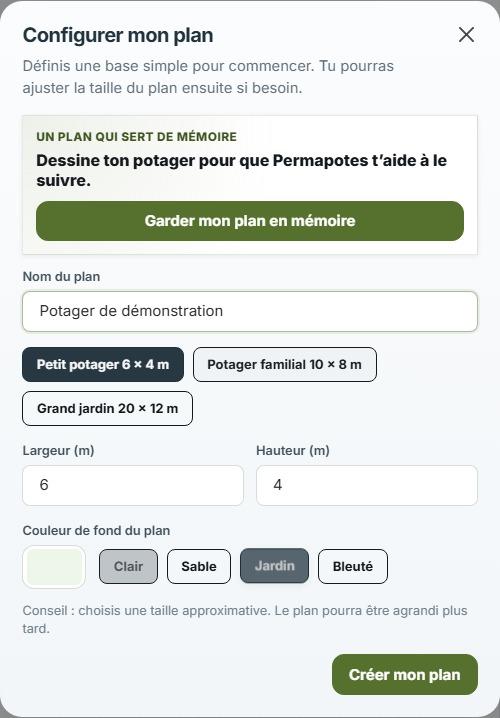
Keep the measurement sketch as a reference. If the digital drawing and the garden do not match, you will be able to check the original data. A reliable plan starts with a survey that you can refer back to; choosing which vegetables to grow comes afterwards.
Further guides
