


Drawing up a vegetable garden plan: the steps to creating a clear layout
Drawing a vegetable garden plan involves visualising the decisions you’ve made for your garden. The drawing should allow you to identify the plots, crops and access points without needing an explanation every time you look at it. Here’s a step-by-step guide to turning a rough sketch of the plot into a clear plan that you can update throughout the season.
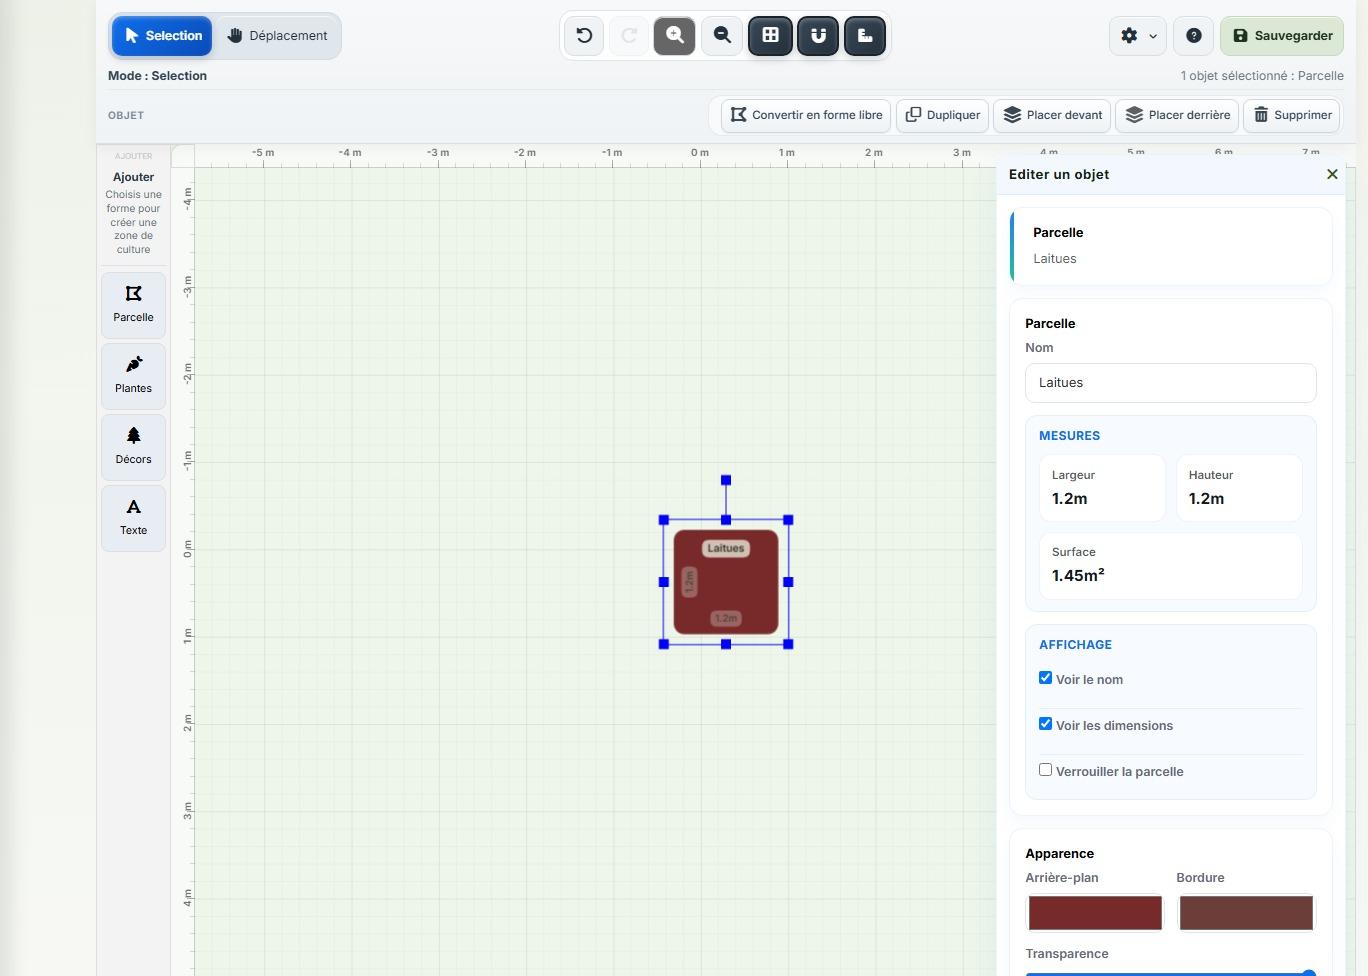
Prepare the information before opening the tool
Compile the dimensions, fixed features and the list of plants you are considering. Keep verified measurements separate from estimates. If you start without this information, you risk designing an attractive garden whose plots do not match the actual layout of the plot.
Choose the level of detail required. An initial draft can show the areas and access points. A version intended for planting should allow you to identify the crops and plot markers. You do not need to include every maintenance task in the same document.
Step 1: Sketch out the background and choose an orientation
Mark out the boundaries, obstacles and permanent pathways. Provide a guide to help you find your way around the garden. On paper, choose a scale: with 1 centimetre representing 1 metre, a rectangle measuring 4 metres by 3 metres will measure 4 centimetres by 3 centimetres. Use the same scale for all elements.
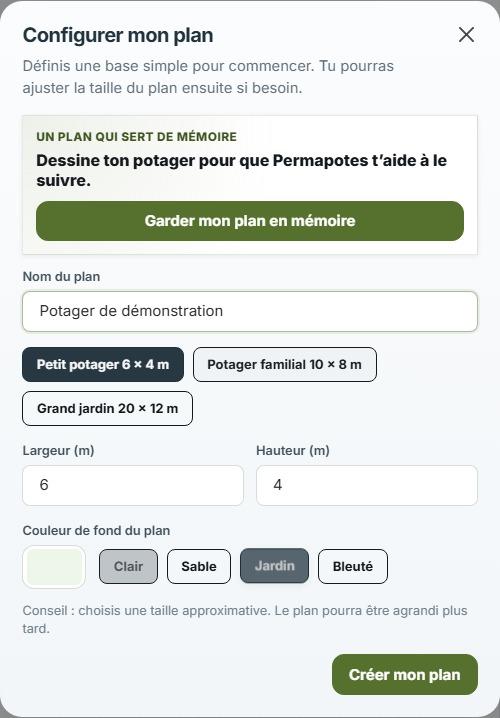
If you’re working online, check the dimensions and units offered by the tool. Don’t rely solely on the size as it appears on screen: zooming in or out can alter this perception without changing the proportions of the project.
Step 2: mapping out the plots and access points
Add the cultivated areas without placing the vegetables straight away. Give each plot a name and leave space for paths. Check that the boundaries are clear and that access routes remain unbroken. An isolated area behind tall crops can be difficult to maintain, even if it fits within the layout.
At this stage, compare the background of the layout with your measurements. Correct any sizing errors now: moving a few empty rectangles is easier than revising a design that’s already filled with dozens of elements.
Step 3: Label the cultures
Arrange the selected vegetables in the plots. Write down the name of the crop and, if necessary, the variety. Use a key to explain the colours or symbols. A different colour for each family or for each period may be helpful, but only if you can still understand what it means several weeks later.
The steps involved in Permapotes
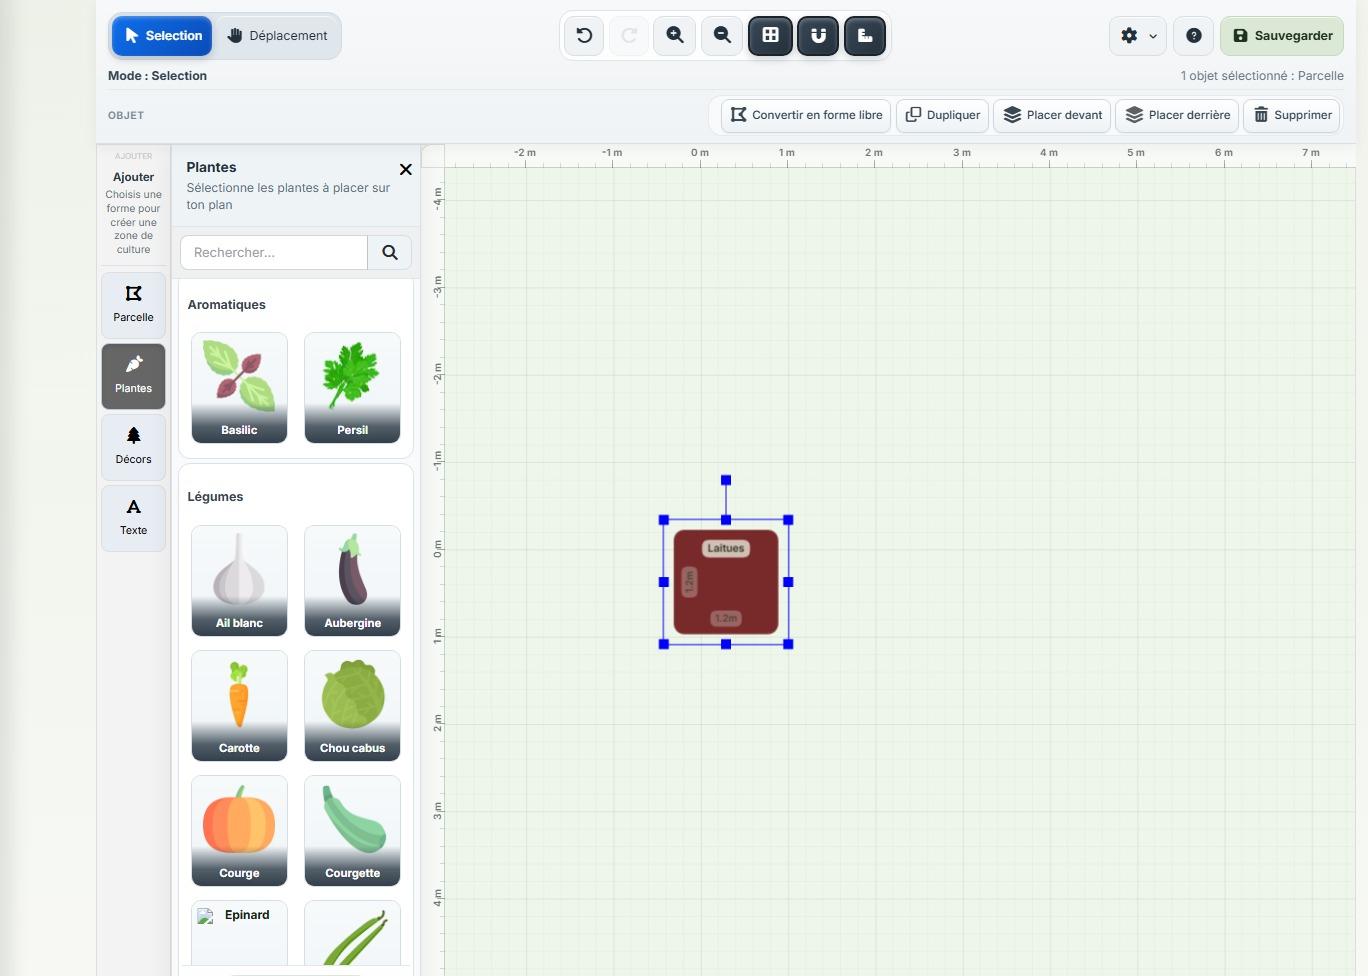
Do not depict a plant at the size of the pot alone. The drawing must take into account the intended layout and the growth of the crop. For a row, indicate its orientation and the spacing to be checked, rather than multiplying symbols that do not correspond to the actual number of plants.
Step 4: Separate the confirmed project sites
A plot may have a confirmed crop but a crop rotation yet to be finalised. Keep these details separate: use the word ‘planned’, a note indicating a reservation, or a separate version. If you superimpose all the ideas, the plan may give the impression that several crops are being grown on the same area at the same time.
A simple method is to keep one version for each major phase of occupation. The diagram shows what will be present; your notes explain the transition from one version to the next. This makes the sequence of changes easier to follow without overloading the plots.
Step 5: Test the reading and keep a dated version
- Find each plot on the ground.
- Check the passages and boundaries using temporary markers.
- Read the plan without using your preparation notes.
- Correct any names or symbols that remain ambiguous.
- Keep a copy dated prior to the initial installations.
If someone else is involved in the garden, ask them to identify a plant from the drawing. Any hesitation on their part may indicate that the key is missing or that a reference point is unclear. This test is about reading the plan, not its appearance.
Start your drawing in Permapotes
Open the vegetable patch planner to help you develop your project. You can take a look at public plans to explore other organisations, then adapt the ideas to suit your own needs. Keep the original list to hand.
During the growing season, make adjustments to the plants you’ve actually grown and keep the best ones. The sketch then becomes a record of your garden, rather than an illustration of what you’d imagined before planting.
Further guides
